The Original Freedrum
1. Charge your sensors
Charge all your sensors using the charging cable provided before using the product. While charging, the LED will shine red. The LED will turn off when charging is complete.
2. Download Freedrum Studio
While your sensors are charging, download the Freedrum Studio app:


3. Connect Your Sensors
iOS and Android

1
Access the Freedrum sensor settings by tapping the ![]()

2
Turn on Bluetooth to connect the Freedrum sensors. For Android, make sure to allow location services. Your sensor won't connect without it.

3
Your device will automatically search for your Freedrum sensors, when found you will be directed to the next step.

4
Tap on the sensor to pair it to your device.

5
When paired, tap “Continue” to see the status of your Freedrum sensors.

6
Tap “Done” to close the window. Now you’re ready to play!
macOS

1
Access the Freedrum sensor settings by tapping the ![]()
2
Make sure your bluetooth is turned on in your settings on your Mac. Press the connect button to open the bluetooth configuration menu.

3
In this Bluetooth Configuration menu you can see your sensors. Turn on 1 sensor at a time and press the connect button next each sensor.

4
Press the done button and you are ready to configure the sensors as sticks or feet.
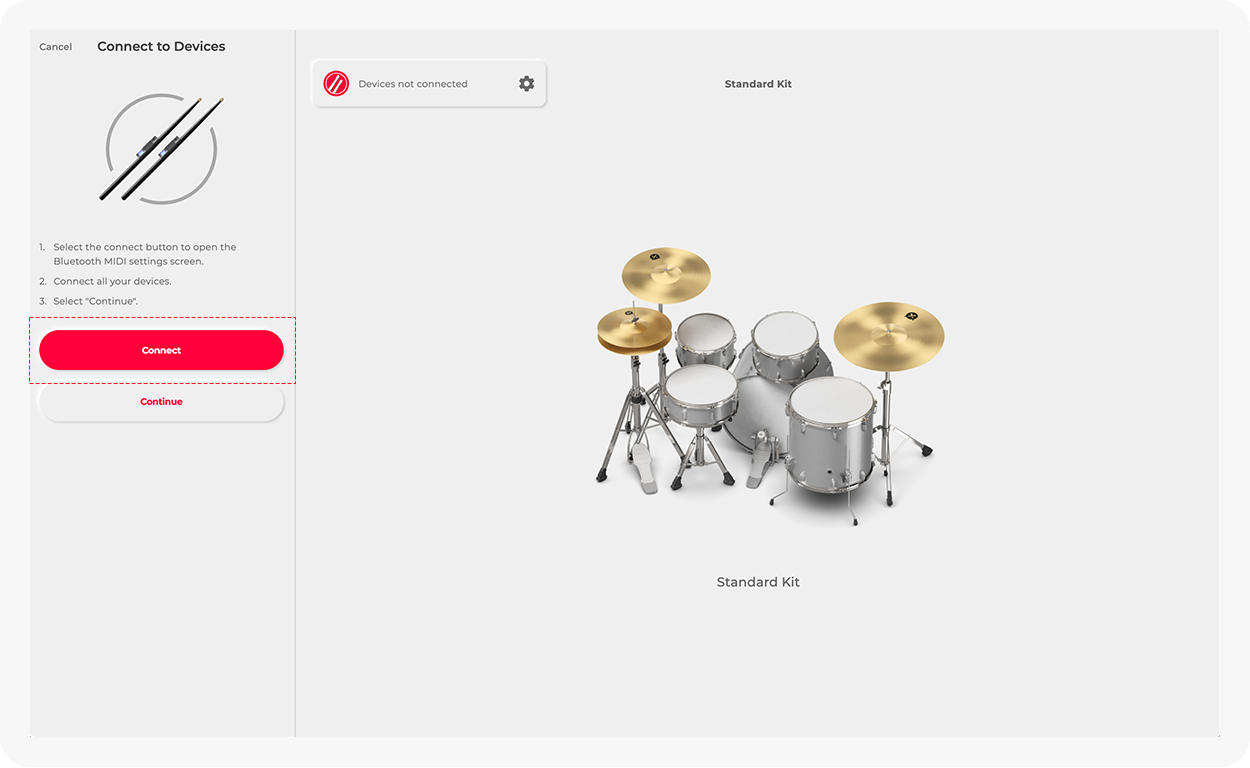
Windows

1
Access the Freedrum sensor settings by tapping the ![]()

2
Press Open Bluetooth Settings and the Windows Bluetooth Settings will open.

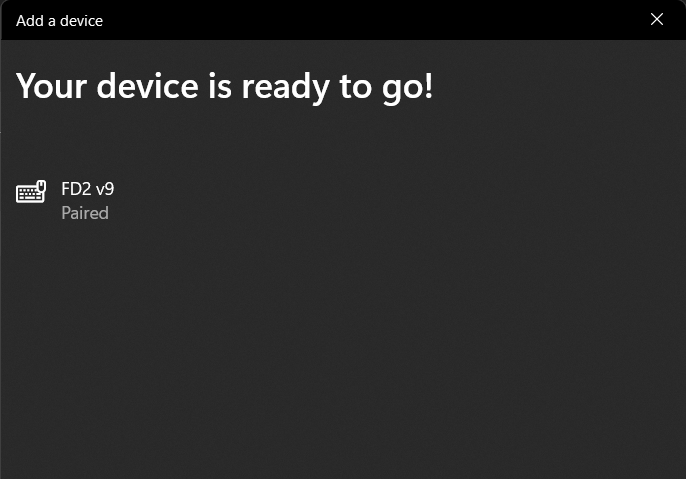
3
In this Bluetooth menu you need to make sure that your Bluetooth is toggled on and then press add device. This will open the dialogue window in step 4.

4
Select Bluetooth to connect your Freedrum sensors.

5
Turn on 1 of the 4 sensors. You want to connect 1 at a time so you have no connection issues. Then select the Freedrum sensors from this menu. The sensor needs to say V9. If the sensor is named V8 or V7 you need to contact support for instructions on how to update your sensors.

6
Once the sensor connects it will display as connected.
7
Now that it is connected it will display as paired. Repeat steps 5-8 for the rest of your sensors.

8
You can go back to the Freedrum program and then see your sensors on the left hand side of the window. Press continue to go to the next screen.

9
Once you see all the sensors you can press done.

10
You can see the green icon which lets you know that your sensors are connected then you can start playing.
4. Configure Your Sensors as Sticks or Feet

1
Access the Freedrum sensor settings by tapping the button on the top left.

2
Identify a specific sensor by waving it around. The bar 

3
Tap on the sensor name to enter the configuration menu.
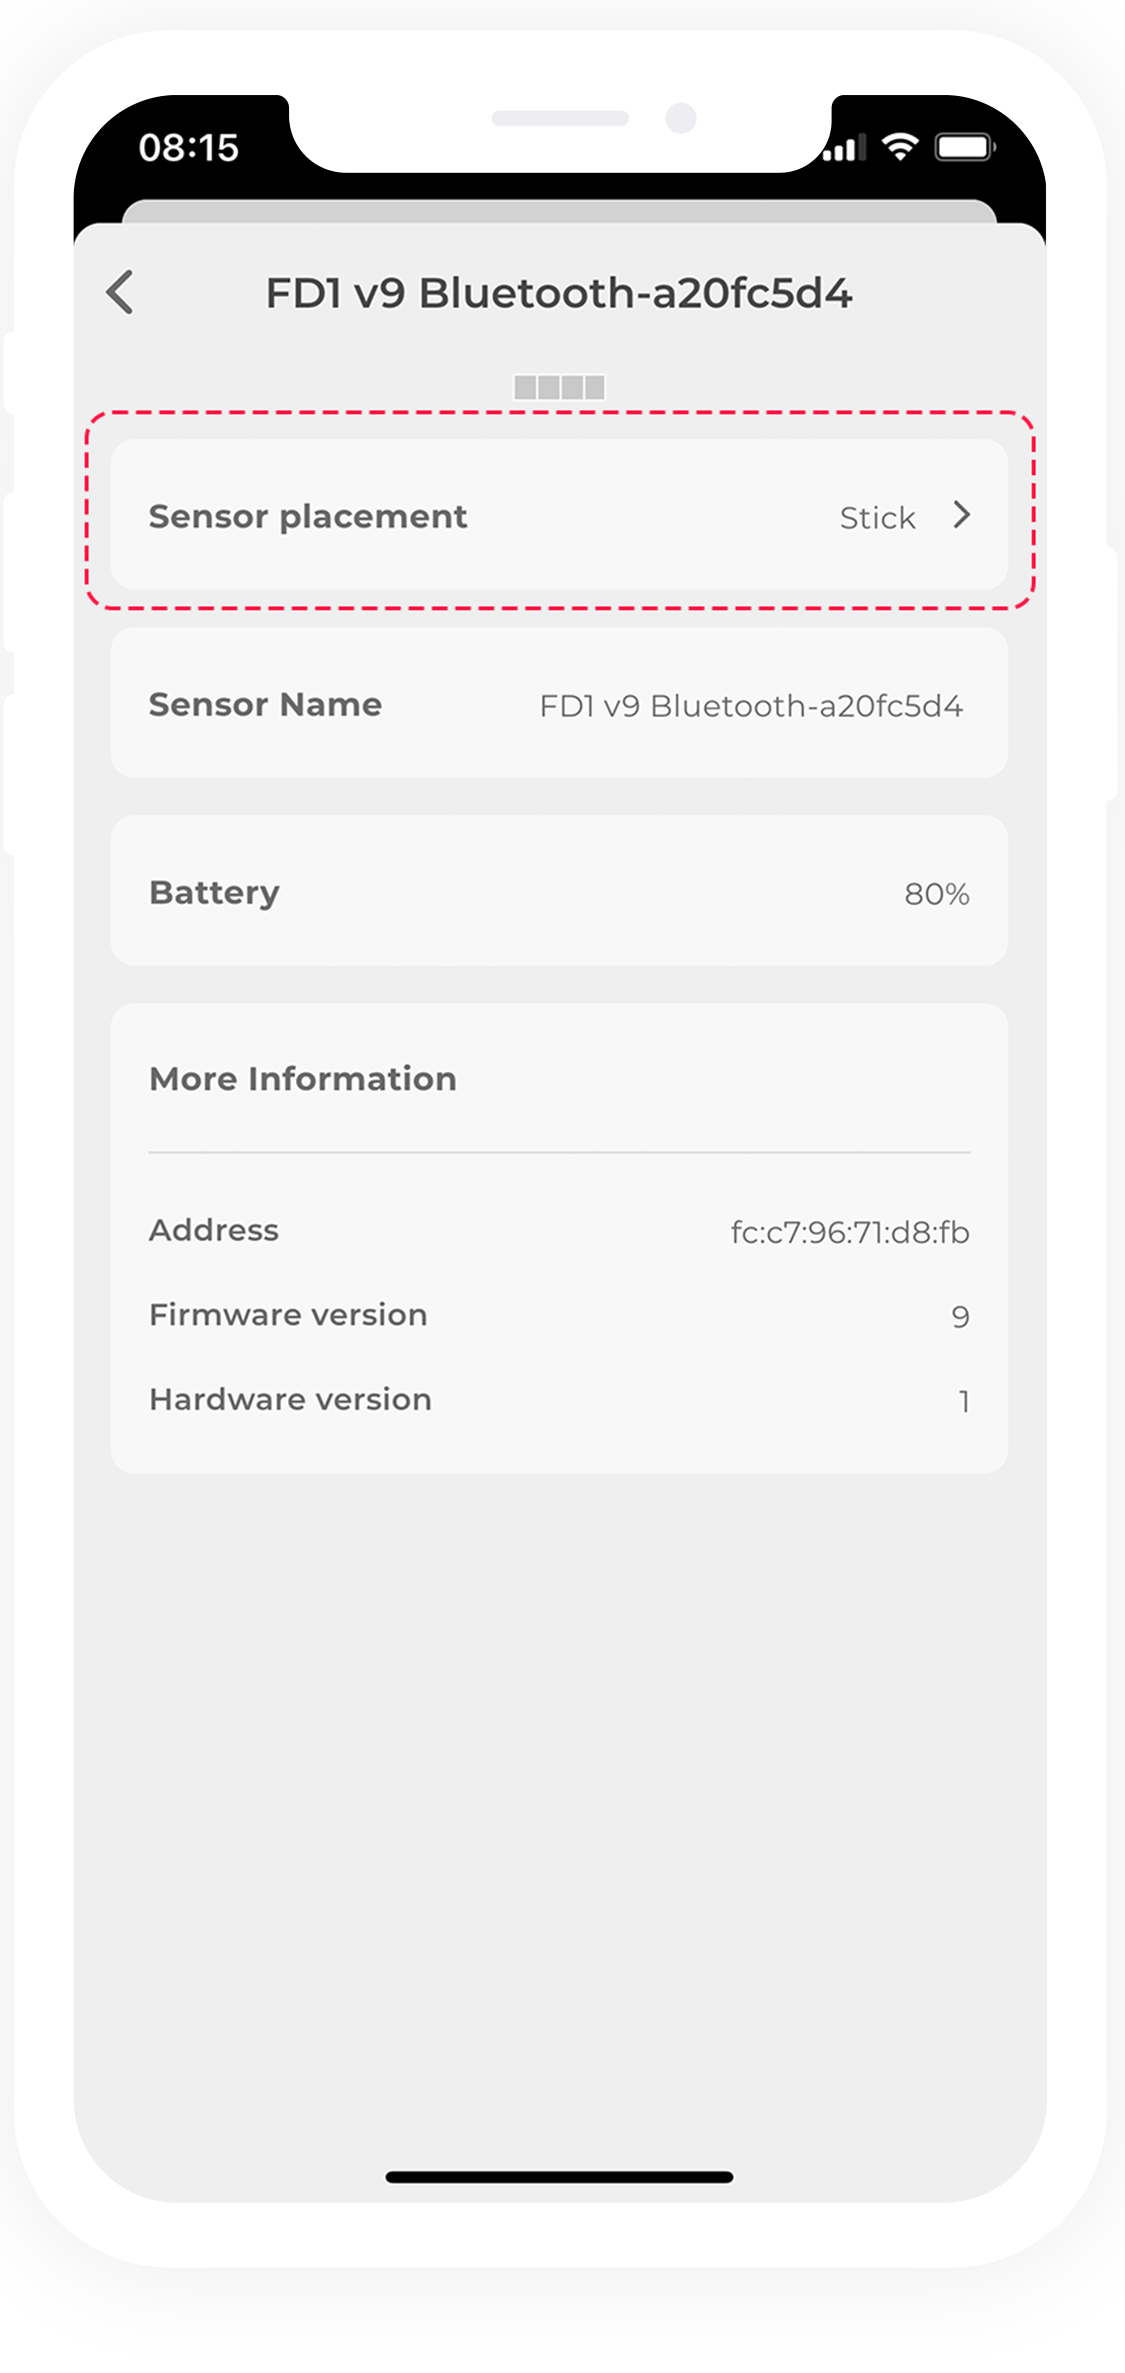
4
Tap on the first option in the menu to change the sensor placement.

5
Tap on the image to change from Stick to Foot sensor (or vice versa).

6
Tap "Done" to go out of the sensor placement menu. The change is saved automatically.
5. Renaming a Sensor


1
Access the Freedrum sensor settings by tapping the top left button.![]()

2
Identify a specific sensor by waving it around. The bar 

3
Tap on the sensor name to enter the configuration menu.

4
Tap on the name shown in the image to change sensor name.

5
Type your new name for the sensor. Tap “Done” to go back to the configuration menu.

6
Tap back on the top left to go back to the sensor list and close the dialog box.
6. Learn to Play
For more detailed information, follow this link: